
MODUNARU HOW-TO
Combine several screenshots into one image
Use Join photos when you want to send several screenshots as one image. Stack them vertically at a shared width, arrange their order and set the gaps and outer padding. Follow the synthetic example below through to saving.
The photo editor and Join photos are separate tools
Join photos uses the actual files you select. If you cropped or added mosaic in the photo editor, save that result first and add the saved file to Join photos. An unfinished edit does not transfer automatically between screens.
- Add up to 8 JPG, PNG or WebP files, at most 25 MB each, with a total of 60 MB and 40 million pixels.
- Overlapping screenshot content is not detected or removed automatically. To remove overlaps, crop and save each source in the photo editor first.
- Photos are processed in your current browser without being sent to a server. Save your result before reloading or closing the page.
Steps to stack screenshots vertically
Add files and arrange them
Choose your screenshots with Add photos. Use the list’s up and down buttons to set their order. In vertical layout, the first image goes at the top. Check the content order in the preview as well.Choose vertical layout and a shared width
Choose Vertical and set Photo width. Every image keeps its proportions and is resized to that shared width. This setting excludes padding; the final width also includes left and right outer padding. Enlarging a small source may soften text.Set gaps, padding and background
Gap and outer padding each accept 0–100 px. Add a gap to separate screenshots, or compare with 0 for a continuous-looking strip. Transparent parts of PNG sources also use the selected background color.Create the file and save it
Choose JPG or WebP and set a maximum size. Select Create combined photo, inspect the actual dimensions, size and format, then download or save/share it. Seeing the preview alone does not mean a file has been saved.
MEASURED EXAMPLE
Actual output from synthetic screenshots
These are synthetic screens marked DEMO. They are not captures of a real app or personal conversation and contain no personal information.
Measured on: · Produced with the actual Modunaru tools in the in-app browser on a PC; downloaded files were reopened and checked.
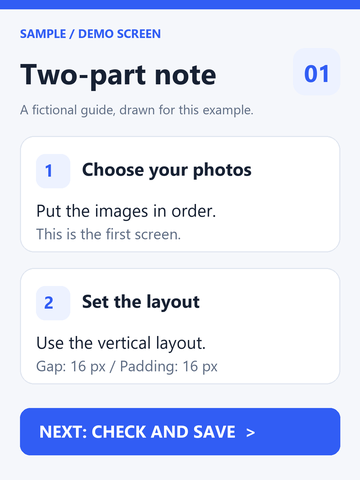
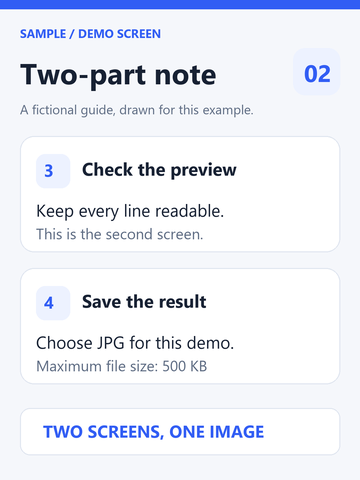
- Direction and shared width
- Vertical · 360 px
- Gap and outer padding
- 16 px · 16 px
- Background and save settings
- #ffffff · 500 KB · JPG
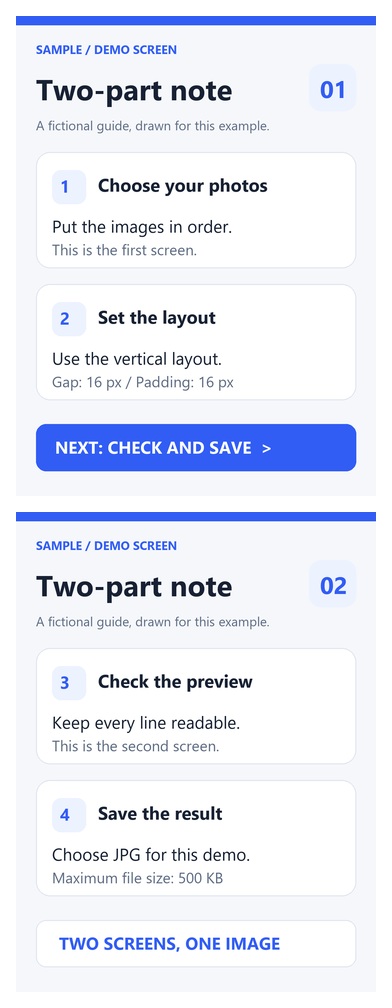
The final file width can differ from the shared photo width because of outer padding.
The file size above was measured for these synthetic sources and settings. Other screenshots can produce different sizes depending on their content and dimensions. The page scales images to fit; download the result to inspect it at its actual size.
If text becomes too small or a file cannot be created
- If text is small, check whether the shared photo width is too low. Open the saved file at its actual size, or split a long result into two files.
- If output dimensions exceed the limits, the result must stay within 8,000 px per side and 16 million pixels. Use Fit within output limits or reduce the shared width, image count or spacing. Check text clarity again.
- If the file is over budget, increase the allowed KB or reduce dimensions if permitted, then create it again. The tool does not silently shrink output pixels to meet the limit.
- If a mobile download does not respond, use Save or share photo. The other save methods under the result also offer file sharing. Confirm the file is saved in your files app or gallery.
Frequently asked questions
Can I use screenshots with different dimensions?
Yes. Vertical layout matches widths; horizontal layout matches heights. Each source keeps its proportions, so the other dimension can differ. Enlarging small files may make them soft.
Can I save the combined image as transparent PNG?
Join photos outputs JPG or WebP and fills transparent areas with the chosen background color. This differs from transparent PNG output in the photo editor.
Can I make a horizontal comparison?
Yes. Switch to Horizontal; Photo height becomes the shared height. The first source goes on the left, and gap and padding still apply.